
Chocolate Peanut Butter Oatmeal Bars
These Chocolate Peanut Butter Oatmeal Bars remind me of a treat we sometimes had with our school lunches. With plenty of chocolate, creamy peanut butter, and rolled oats, they’re an easy homemade snack or dessert—and there’s no baking involved.
I usually use honey for a batch we’ll enjoy at home. When I’m taking them to a gathering, I often choose pure maple syrup for a deeper, richer flavor. Both versions come together in one pot before chilling in the refrigerator.
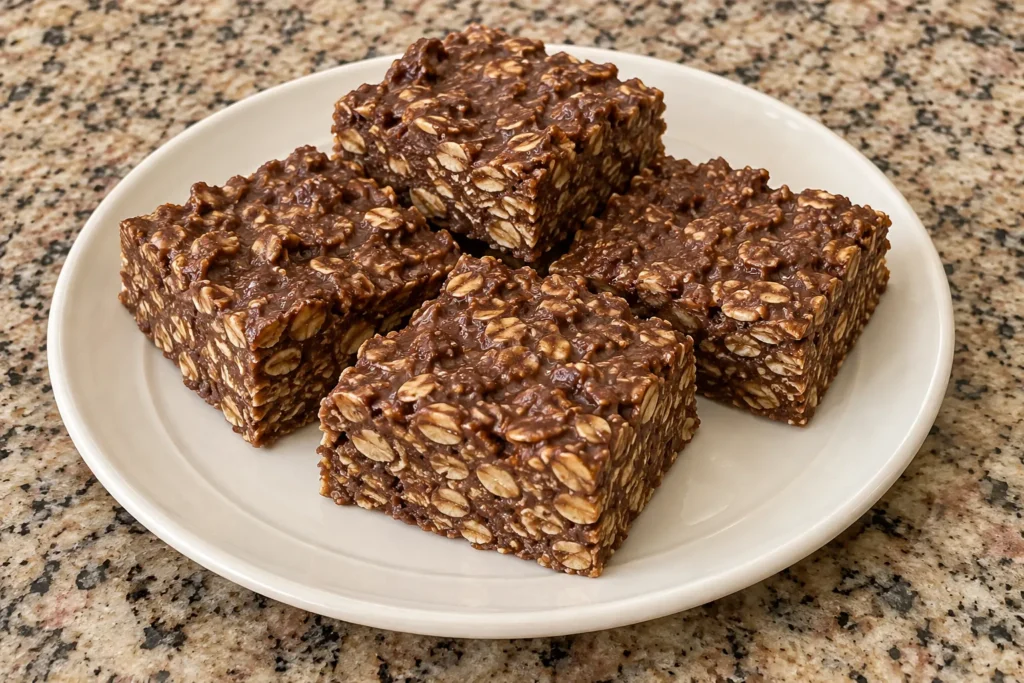
A Familiar Treat Without Turning On the Oven
Chocolate and peanut butter are a combination I enjoy at home or at a gathering. Add rolled oats, and these bars become a substantial little treat that brings back memories of school lunches.
The no-bake preparation is part of what makes this recipe convenient. There’s no oven to preheat and no baking sheets to rotate. Everything comes together in a large pot on the stovetop, then goes into a pan to chill.
They’re easy to prepare for picnics, after-school snacks, holiday gatherings, or an everyday dessert. Just remember to allow approximately two hours for chilling before you plan to cut and serve them.
Honey or Pure Maple Syrup
I choose the sweetener based on the flavor I want. For a quick snack or dessert at home, I usually reach for honey. When I’m making a batch to take somewhere, I like using pure maple syrup for its deeper, richer flavor.
Neither choice changes the basic method. Use one cup of whichever you prefer for the full recipe.
If you choose maple syrup, use pure maple syrup rather than maple-flavored pancake syrup. Pure maple syrup gives these bars the flavor I’m looking for; pancake syrup has a high water content and isn’t what I use in this recipe.
Get the Pan Ready First
Before you start melting the ingredients, prepare a 9×13-inch pan. Butter it well, or line it with parchment paper and butter the parchment.
I like the parchment method because it makes removing the chilled bars easier. Leave some parchment extending over the sides so you can lift the slab out and place it on a cutting board.
If you don’t have parchment, buttering the pan directly works too. You can cut and serve the bars right from the pan.
One Pot for Mixing
Choose a large pot with enough room for the chocolate mixture and all six cups of rolled oats. Having room to stir makes this step much easier.
Over medium heat, melt the butter, semisweet chocolate chips, honey or maple syrup, and creamy peanut butter together. Stir frequently until everything is melted and smoothly combined.
Remove the pot from the heat, then stir in the rolled oats. Mix thoroughly, reaching down to the bottom and around the sides so no dry pockets of oats remain.
Press Firmly, Then Chill the Chocolate Peanut Butter Oatmeal Bars
Transfer the mixture to your prepared pan. Spread it into the corners and press firmly into an even layer. A lightly buttered spatula can help keep the mixture from sticking while you smooth the top.
Refrigerate for approximately two hours, or until firm enough to cut. The preparation is quick, but chilling is what allows the mixture to set into bars.
Cut four rows of five for 20 bars, or four rows of six for 24 smaller bars. Choose whichever size suits the occasion.
An Easy Smaller Batch
For a smaller batch, cut every ingredient amount in half and use an 8×8-inch pan. Prepare the pan and follow the same melting, mixing, and chilling steps.
The bars will be slightly thinner than those made in the 9×13-inch pan, but still a nice size for a snack or dessert. It’s a useful option when you want a homemade treat without making a full batch.
A Recipe to Make With Kids
These no-bake bars offer several ways to get kids involved in the kitchen with adult supervision. They can help measure the oats, prepare the pan, and count the rows of bars once they’re ready to cut.
An adult should handle the stovetop, hot pot, and melted chocolate mixture. Once the mixture has cooled enough to handle safely, kids can help press it into the pan with a spatula while an adult steadies the pan.
It’s a simple opportunity to practice measuring and following instructions together—with a homemade treat to enjoy after the bars have chilled.
Chocolate Peanut Butter Oatmeal Bars for Sharing
This is the kind of recipe I appreciate having on hand: simple ingredients, a little hands-on work, and enough pieces to share. The familiar chocolate and peanut butter flavor makes it an easy choice for many occasions.
Whether I use honey or pure maple syrup, these bars are a reminder that a homemade treat doesn’t always require an afternoon of baking.
Browse my recipes for more family favorites and homemade desserts, or visit Kitchen Tips & Ideas for practical help with everyday cooking.
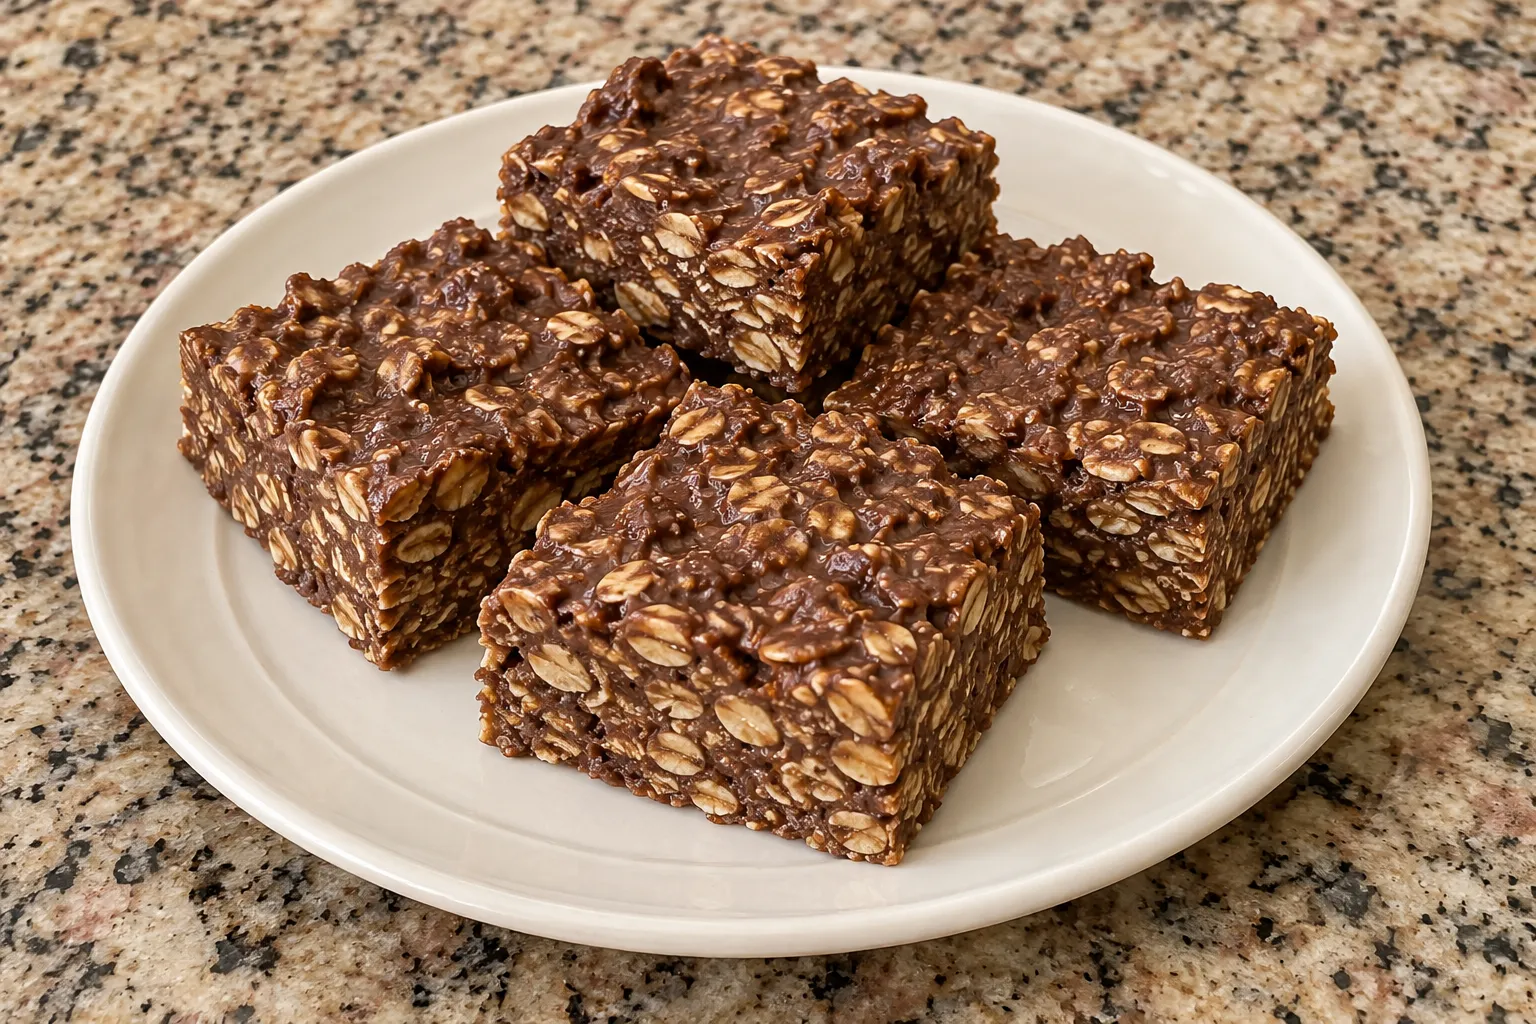
Chocolate Peanut Butter Oatmeal Bars
Ingredients
Equipment
Method
- Butter a 9×13-inch pan, or line it with parchment paper and butter the parchment. If using parchment, leave some extending over the sides to help lift the bars out later. Set aside.
- In a large pot over medium heat, combine the butter, semisweet chocolate chips, honey or pure maple syrup, and creamy peanut butter.
- Stir frequently until everything is completely melted and smoothly combined. Remove from the heat.
- Add the rolled oats and stir thoroughly until all the oats are coated and evenly incorporated.
- Transfer the mixture to the prepared pan. Press firmly and evenly into the pan, spreading the mixture into the corners.
- Refrigerate for approximately 2 hours, or until firm enough to cut.
- Cut into 4 rows of 6 for 24 bars, or 4 rows of 5 for 20 larger bars.